Self-hosting the Azure APIM developer portal
APIM Developer Portal
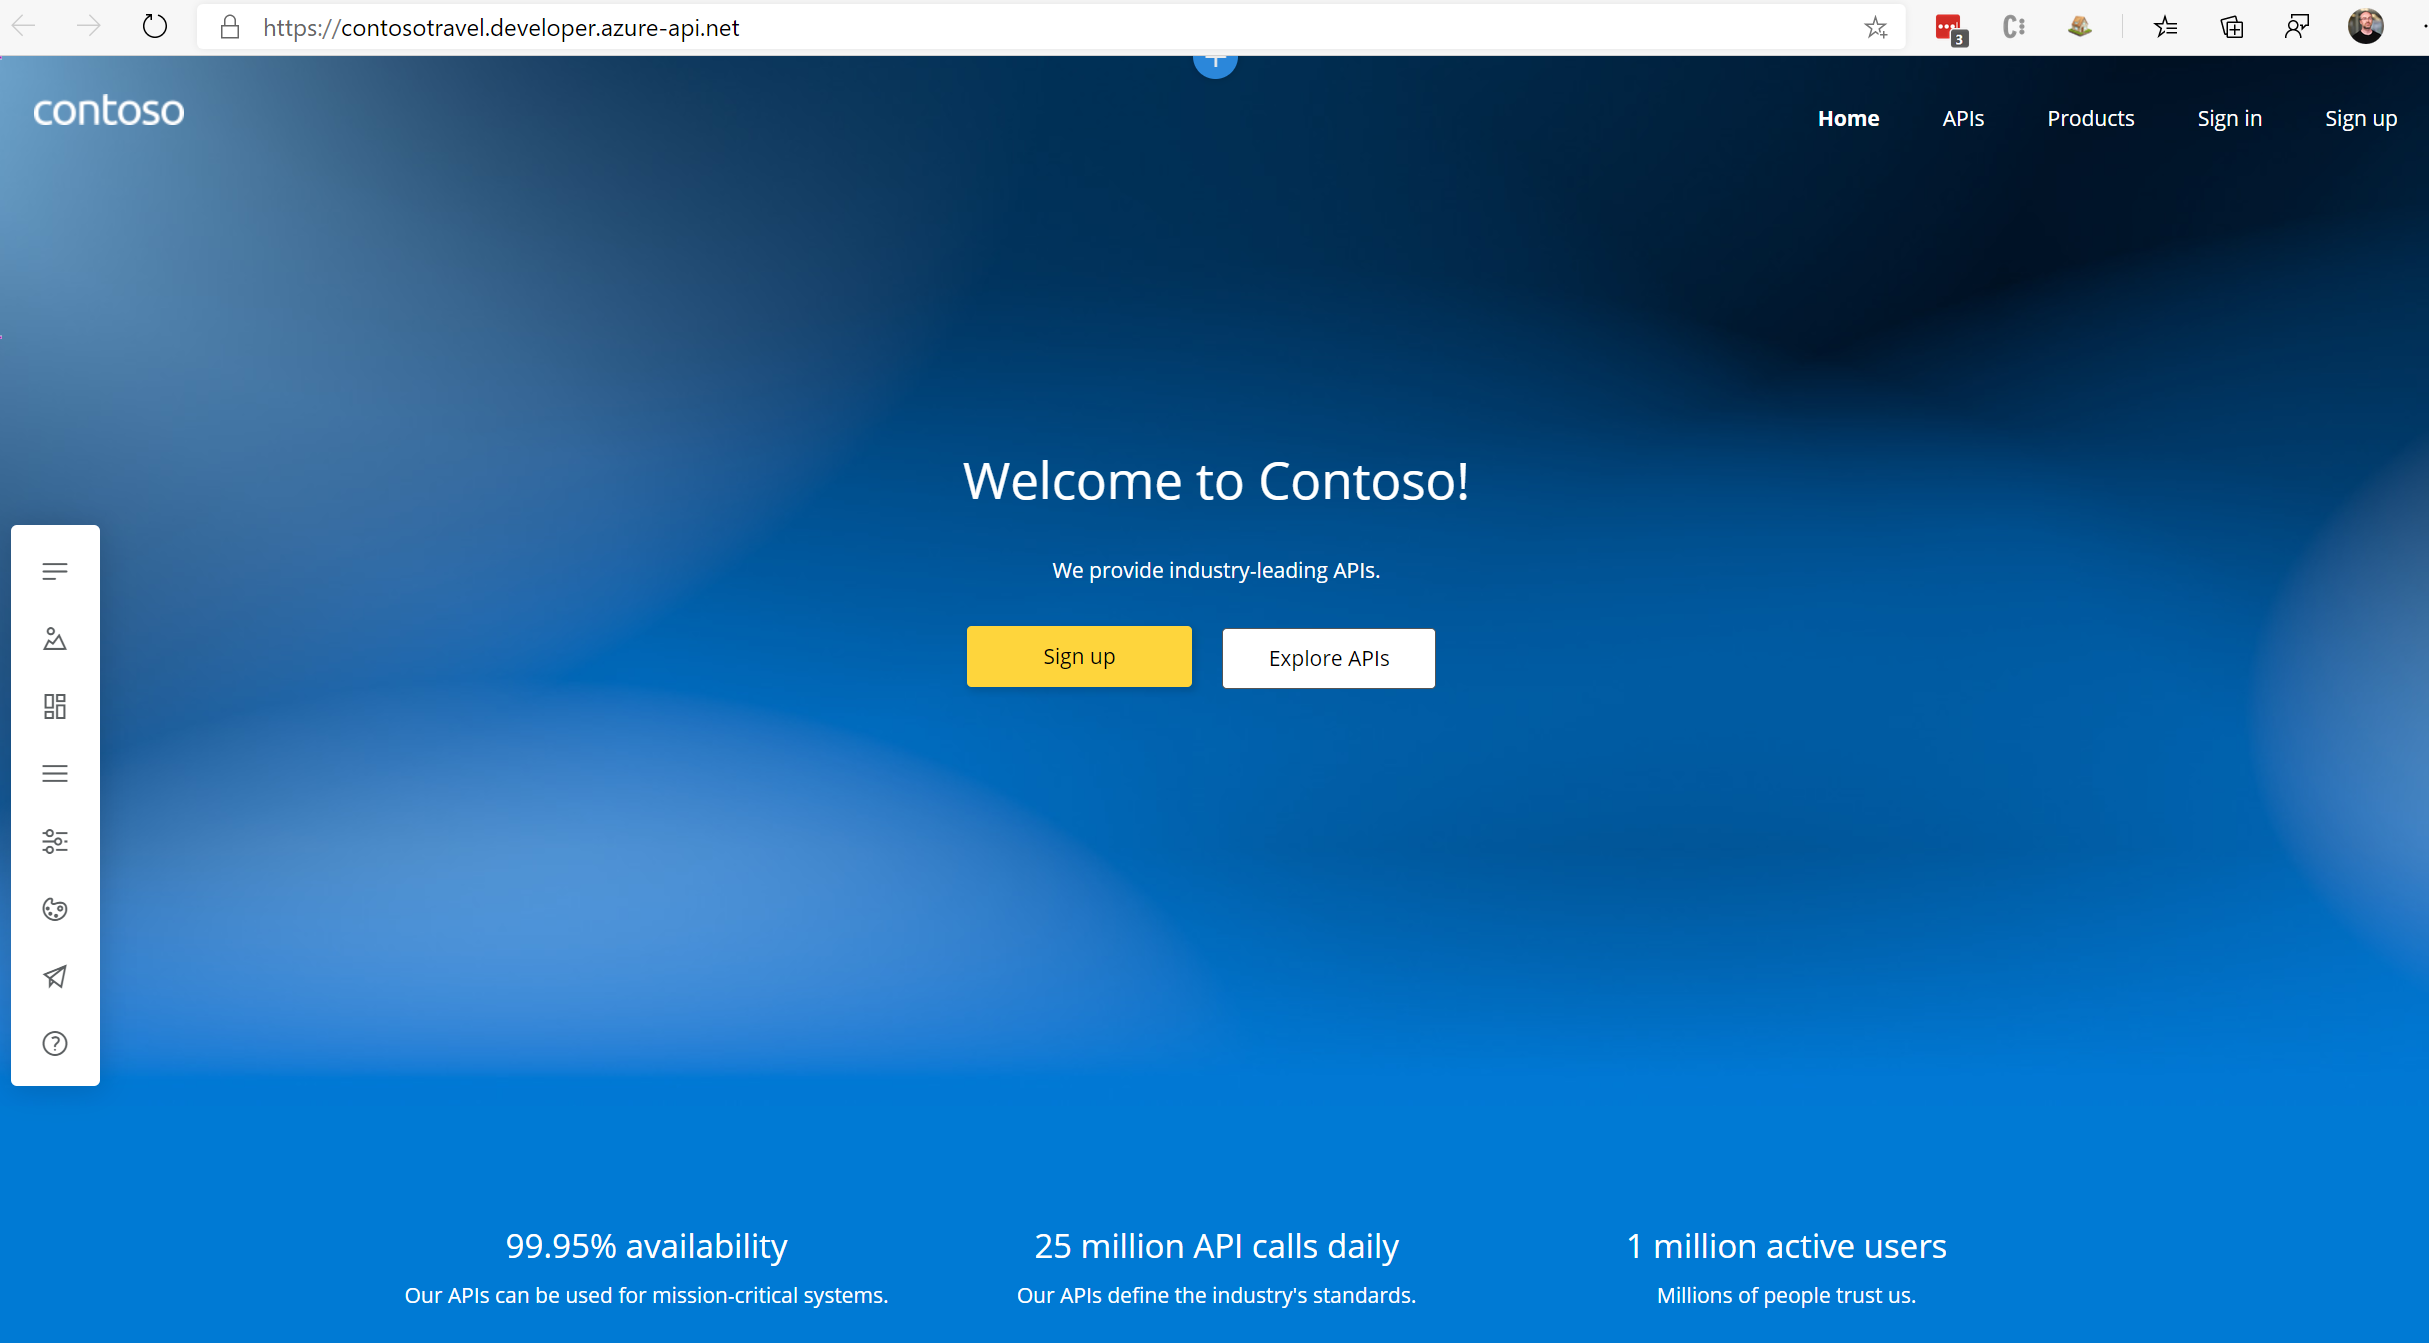
The Azure API Management service includes a Developer Portal for you to publicize your API’s to developers. The capability is dynamic based on the concepts of Products and Subscriptions to bucket up the API’s and rules associated for developers. The original developer portal in APIM (now “legacy portal”) has been superseded by the new Paperbits based Developer Portal which went GA in November 2019. As well as the managed developer portal that is hosted for you in Azure, you have the ability to self-host the new portal. Reasons for self hosting include;
- Customizing the look and feel beyond what is possible with the standard portal
- Hosting on the different infrastructure for security/latency or other reasons
- Hosting multiple portals for different development groups that have different security/appearance requirements
- More seamless integration with other portals
- Extending the logic of the portal, by changing the underlying code.
Getting Started
Inside the WIKI for the Developer Portal is a guide that takes you through setting the portal up. It’s quite long, and involves following several steps around the dependant infrastructure (such as configuring CORS on an Azure storage account). It’s reasonably easy to configure all of these steps in a script, so that’s what i did. It had to be in PowerShell because the capabilities of the AZ commandline just don’t have parity with what you can achieve in PowerShell.
If you’re just interested in running the script, publishing the portal then please grab the script here: https://github.com/Gordonby/api-management-developer-portal/blob/PowerShell-jumpstart-script/Init-APIM-Dev-Portal.ps1
Otherwise, i’m going to breakdown the various segments of the script (mainly so i don’t forget what they do when i come back to this in the future. :)
The Script
Getting the APIM SAS token
The dev portal uses the old “direct api” to interact with API Management. I’m sure at some point the “Azure RM” API will be used, but because of this reason we need to get a SAS token from APIM rather than use AzureAD for authentication which is the standard these days.
The pain of HMACSHA512
Ok, so although i could use the Cryptography API in c# to generate a SAS token properly, getting the same code in PowerShell was a weird non-starter. I’ve included it here FYI. Because of this, i decided to host the encryption code in a c# function.
PowerShell (doesn’t work)
#Now managment Access is enabled, we need a SAS token
$dateIn30=(Get-Date).AddDays(30).ToShortDateString()
$expiry=([datetime]::ParseExact($dateIn30,"dd/MM/yyyy",[cultureinfo]::InvariantCulture))

$dataToSign = $managementAccess.Id + "\n" + $expiry

$hmacsha = New-Object System.Security.Cryptography.HMACSHA512
$hmacsha.key = [Text.Encoding]::ASCII.GetBytes($managementAccess.PrimaryKey)
$signature = $hmacsha.ComputeHash([Text.Encoding]::ASCII.GetBytes($dataToSign))
$signature = [Convert]::ToBase64String($signature)

$expiryString = $expiry.ToUniversalTime().ToString( "yyyy-MM-ddTHH:mm:ss.fffffffZ" )
$apimSAS = "SharedAccessSignature uid=" + $managementAccess.Id + "&ex=" + $expiryString + "&sn=" + $signature
C# Azure Function (works great)
#r "Newtonsoft.Json"

using System.Net;
using Microsoft.AspNetCore.Mvc;
using Microsoft.Extensions.Primitives;
using Newtonsoft.Json;
using System.Globalization;
using System.Security.Cryptography;
using System.Text;

public static async Task IActionResult> Run(HttpRequest req, ILogger log)
{
    log.LogInformation("C# HTTP trigger function processed a request.");

    string requestBody = await new StreamReader(req.Body).ReadToEndAsync();
    dynamic data = JsonConvert.DeserializeObject(requestBody);
    string key = data?.key;
    string id = data?.id;

    DateTime dateIn30 =  DateTime.Now.AddDays(30);
    DateTime expiry = new DateTime(dateIn30.Year, dateIn30.Month, dateIn30.Day);

    string encodedToken = "";

    using (var encoder = new HMACSHA512(Encoding.UTF8.GetBytes(key)))
    {
        string dataToSign = id + "\n" + expiry.ToString("O", CultureInfo.InvariantCulture);
        var hash = encoder.ComputeHash(Encoding.UTF8.GetBytes(dataToSign));
        var signature = Convert.ToBase64String(hash);

        encodedToken = string.Format("uid={0}&ex={1:o}&sn={2}", id, expiry, signature);
    }

    string responseMessage = string.IsNullOrEmpty(encodedToken)
        ? "This HTTP triggered function executed successfully. Pass a id and key in the query string or in the request body for a personalized response."
                : encodedToken;

            return new OkObjectResult(responseMessage);
}
The script snippet
Finally, here’s the snippet from my script which calls the Azure Function for the SAS token, passing in the Apim Id and PrimaryKey as JSON.
#setting apim context
$apimContext = New-AzApiManagementContext -ResourceGroupName $apimRg -ServiceName $apimName

#Lets get the APIM management access key
$managementAccess = Get-AzApiManagementTenantAccess -Context $apimContext
if ($managementAccess.Enabled -eq $false) {
    Set-AzApiManagementTenantAccess -Context $apimContext -Enabled $True
    $managementAccess = Get-AzApiManagementTenantAccess -Context $apimContext
}

#Now management Access is enabled, we need a SAS token
$sasgenUrl="https://helperfunc.azurewebsites.net/api/CreateApimSAS?code=E2X7dNg1r8eaJnNciqIctaHToHdm5dxq2agPllRaIVWENX4ojM2sDw=="
$sasgenBody = @{}
$sasgenBody.Add("id",$managementAccess.Id)
$sasgenBody.Add("key",$managementAccess.PrimaryKey)
$sasResponse = Invoke-WebRequest -Method Post -Uri $sasgenUrl -Body $($sasgenBody | ConvertTo-Json)
$apimSAS = "SharedAccessSignature " + $sasResponse.Content
Testing the SAS
It’s always a good idea to test, when you think you’ve done something right. SAS tokens can be especially tricky, as they can look right but not actually work. Therefore, lets immediately test it on the API itself.
#Test API call, with the APIM SAS token.
$baseUrl= "https://$ApimName.management.azure-api.net"
$apiVersion="2014-02-14-preview"
$testURL = $baseUrl +  "/groups?api-version=" + $apiVersion
$headers = @{
    Authorization="$apimSAS"
}
$req=$null
$req = Invoke-WebRequest -Method Get -Uri $testURL -Headers $headers -UseBasicParsing
Write-Host "Test API call using the APIM SAS: " + $req.StatusCode + $req.StatusDescription
Creating and Configuring the Storage Account
These are pretty simple commands, but provides a little more consistency than mashing keys in the Azure Portal.
$storageContext = $storageAcc.Context

$storageKey = (Get-AzStorageAccountKey -ResourceGroupName $apimrg -Name $storageAcc.StorageAccountName)[0].Value
$storageConnectionString="DefaultEndpointsProtocol=https;AccountName=" + $storageAcc.StorageAccountName + ";AccountKey=" + $storageKey + ';EndpointSuffix=core.windows.net'

#Enable Static Website capability
Enable-AzStorageStaticWebsite -Context $storageContext -IndexDocument "index.html" -ErrorDocument404Path "404/index.html"

#Set the CORS rules on the storage account
$CorsRules = (@{
    AllowedHeaders=@("*");
    AllowedOrigins=@("*");
    MaxAgeInSeconds=0;
    AllowedMethods=@("DELETE", "GET", "HEAD", "MERGE", "POST", "OPTIONS", "PUT", "PATCH")})
Set-AzStorageCORSRule -Context $storageContext -ServiceType Blob -CorsRules $CorsRules

#Create a container for the portal to be published to
New-AzStorageContainer -Context $storageContext -Name $storageContainerName -Permission Off
Creating and testing a storage SAS
This block creates a storage SAS that will expire in 30 days. It then tests the SAS by uploading a random image to the storage account.
#Create a new storage SAS
$dateIn30=(Get-Date).AddDays(30).ToShortDateString()
$expiry=([datetime]::ParseExact($dateIn30,"dd/MM/yyyy",[cultureinfo]::InvariantCulture))
$storageSAS = New-AzStorageAccountSASToken -Context $storageContext -Service Blob -ResourceType Container,Object -ExpiryTime $expiry -Permission "racwdlup"

#Test storageSAS actually can upload something (just a random image is being used)
$tempfile=[System.IO.Path]::GetTempPath() + "test-image.png"
Invoke-WebRequest -uri "https://gordon.byers.me/assets/img/die-bart-die.png" -OutFile $tempfile
$testfile = Get-Content $tempfile -Raw
$storageAcc.PrimaryEndpoints.Blob + $storageSAS
$uri = $storageAcc.PrimaryEndpoints.Blob + $storageContainerName + "/test-image.png" + $storageSAS
$headers = @{}
$headers.Add("x-ms-blob-type","BlockBlob")
$storageTestResult = Invoke-WebRequest -uri $uri -Method Put -Body $file -ContentType "image/png"  -Headers $headers
Write-Host "Test image upload using Storage SAS: " + $storageTestResult.StatusCode + " " + $storageTestResult.StatusDescription
Configuring the Dev Portal
Now that we’ve got all of the Azure resources created, we can pump the configuration into the Dev Portal that we’ve cloned from GitHub. The biggest pain here is the text encoding problems that you’ll get on Windows, Node is a fussy beast when it comes to parsing text from the file system. The JSON files need to be UTF8 with No BOM.
#Flipping text output stuff on windows.  For PowerShell 5.1 you need to do this, rather than use out-file
$Utf8NoBomEncoding = New-Object System.Text.UTF8Encoding $False
$basepath= Get-Location
#[System.IO.File]::WriteAllLines($MyPathOut, $MyFile, $Utf8NoBomEncoding)

#Portal Config file output
$configdesignjson = (Get-Content ("./src/config.design.json") | ConvertFrom-Json)
$configdesignjson.managementApiUrl = $configdesignjson.managementApiUrl.Replace("",$apimName)
$configdesignjson.managementApiAccessToken = $apimSAS
$configdesignjson.blobStorageContainer=$storageContainerName
$configdesignjson.blobStorageUrl=$storageAcc.PrimaryEndpoints.Blob + $storageSAS
$configdesignjson.backendUrl = $configdesignjson.backendUrl.Replace("",$apimName)
$configdesignjsonout = $configdesignjson | ConvertTo-Json | % { [System.Text.RegularExpressions.Regex]::Unescape($_) }
[System.IO.File]::WriteAllLines("$basepath\src\config.design.json", $configdesignjsonout, $Utf8NoBomEncoding)


#Config Publish Json
$configpublishjson = (Get-Content ("./src/config.publish.json") | ConvertFrom-Json)
$configpublishjson.managementApiUrl = $configpublishjson.managementApiUrl.Replace("",$apimName)
$configpublishjson.managementApiAccessToken = $apimSAS
$configpublishjson.blobStorageContainer=$storageContainerName
$configpublishjson.blobStorageConnectionString=$storageConnectionString
$configpublishjson | ConvertTo-Json | % { [System.Text.RegularExpressions.Regex]::Unescape($_) }
$configpublishjsonout = $configdesignjson | ConvertTo-Json | % { [System.Text.RegularExpressions.Regex]::Unescape($_) }
[System.IO.File]::WriteAllLines("$basepath\src\config.publish.json", $configpublishjsonout, $Utf8NoBomEncoding)


#Config runtime json
$configruntimejson = (Get-Content ("./src/config.runtime.json") | ConvertFrom-Json)
$configruntimejson.managementApiUrl = $configruntimejson.managementApiUrl.Replace("",$apimName)
$configruntimejson.backendUrl = $configruntimejson.backendUrl.Replace("",$apimName)
$configruntimejson | ConvertTo-Json | % { [System.Text.RegularExpressions.Regex]::Unescape($_) }
$configruntimejsonout = $configdesignjson | ConvertTo-Json | % { [System.Text.RegularExpressions.Regex]::Unescape($_) }
[System.IO.File]::WriteAllLines("$basepath\src\config.runtime.json", $configruntimejsonout, $Utf8NoBomEncoding)

#generate.bat
$generatebat = Get-Content ("./scripts/generate.bat")
For ($i=0; $i -lt $generatebat.Length; $i++) {
    if ($generatebat[$i].StartsWith("set management_endpoint")) { $generatebat[$i]='set management_endpoint="' + $apimname + '.management.azure-api.net"' }
    if ($generatebat[$i].StartsWith("set access_token")) { $generatebat[$i]='set access_token="' + $configpublishjson.managementApiAccessToken + '"' }
    if ($generatebat[$i].StartsWith("set storage_connection_string")) { $generatebat[$i]='set storage_connection_string="' + $storageConnectionString + '"' }

}
$generatebat | Out-File "./scripts/generate.bat" -Encoding "UTF8"
</pre>

## Finishing up
Now that the Dev Portal files are all ready we need to run a Generate script that uploads some static media files to the storage account.
After that, the npm publish command creates the site ready for upload.
I'm choosing to use AZCopy to upload, but you could use the Azure Storage Explorer for a GUI drag-n-drop experience.


#start the generation
Start-Process "./scripts/generate.bat" -Wait

#Run the portal locally
#npm start

#The following command will translate them into static files
#and place the output in the ./dist/website directory:
npm run publish


#using azcopy to publish
$azcopyargs = @("copy",
                "$(get-location)dist\website\",
                $($storageAcc.PrimaryEndpoints.Blob + "`$web" + $storageSAS),
                "--from-to=LocalBlob",
                "--blob-type Detect ",
                "--follow-symlinks"
                "--put-md5 ",
                "--follow-symlinks ",
                "–recursive ")
$azcopypath = "C:\Program Files (x86)\Microsoft SDKs\Azure\AzCopy\azcopy"
#start-process -FilePath  -ArgumentList $azcopyargs -Wait
Write-host $azcopypath $($azcopyargs -join " ")