Getting started with domain management and DNS in Azure
One of the features in Azure that i hadn’t used until lately was the DNS Zone management for your own domain. It’s easy to use, but crucially allows a better degree of configuration than the previous company I’ve used for years.
- Changing the Time To Live of specific DNS entries.
- It’s API accessible, which means much better integration with automation scripts.
- The cost of the domain comes out of your Azure bill which is actually pretty convenient for me.
You can see some of the other features here: https://azure.microsoft.com/en-gb/blog/app-service-domain/
Domain registration
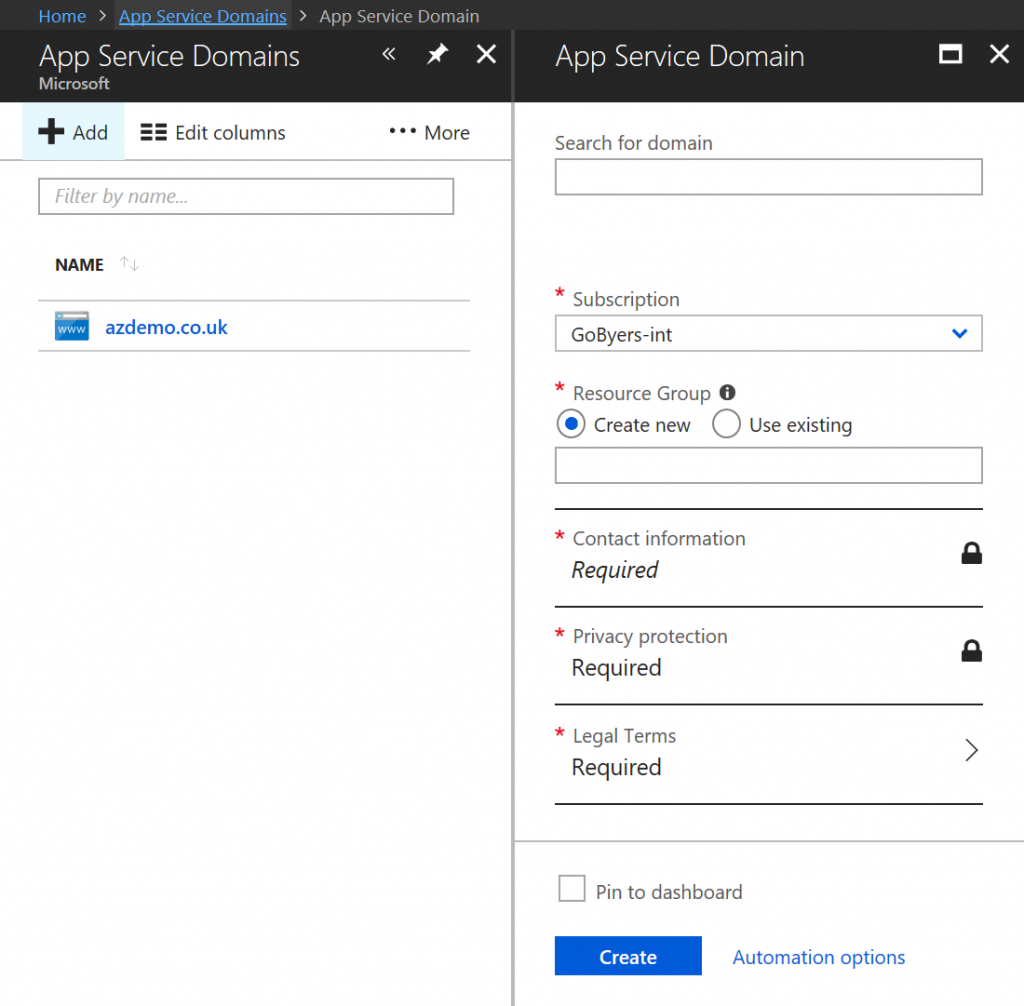
I registered Azdemo.co.uk, and it took about 10 minutes before it was ready to use. You can find the feature under “App Service Domains”, although the naming can be a little confusing because you don’t need to use them just with App Service.
Automatic management of DNS for the domain.
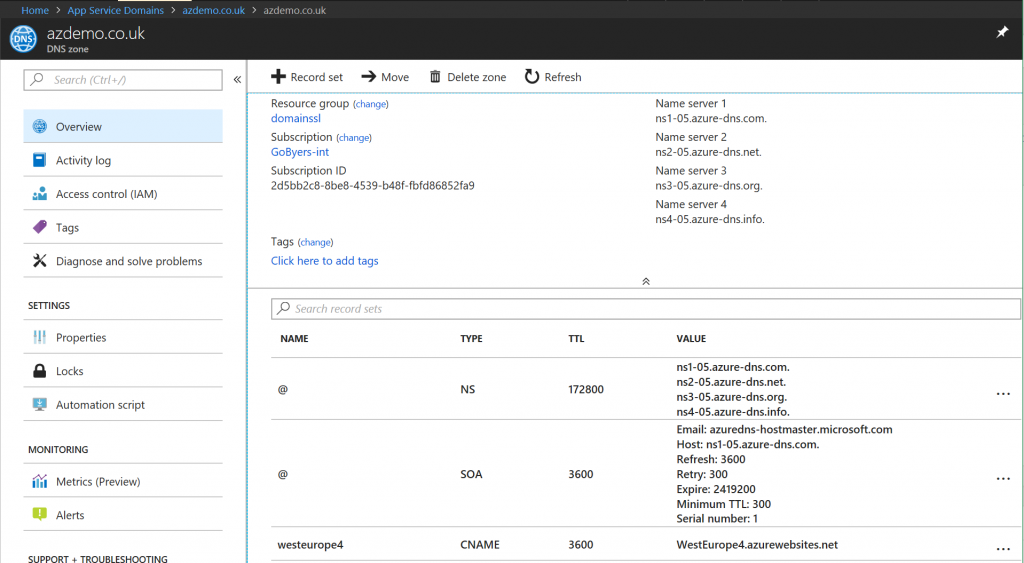
The DNS Zones for the domain were automatically created as Azure is the default name server to provide DNS management. It also makes Custom Domain assignment much faster in App Service because you don’t have to perform the same validation steps.
DNS entities can then be added with Powershell, eg.
$rootdomain = "azdemo.co.uk"
$dnsZone = Get-AzureRmDnsZone | ? {$_.Name -eq $rootdomain}
$Records = @()
$Records += New-AzureRmDnsRecordConfig -Value $dnsValue
New-AzureRmDnsRecordSet -Name $dnsName -RecordType TXT -ResourceGroupName $dnsZone.resourcegroupname -TTL 60 -ZoneName $dnsZone.name -DnsRecords $Records
SSL Certificates
The next logical step is to deal with SSL Certificates for your subdomains/domain. You can either buy your SSL certificate through the Azure portal
https://docs.microsoft.com/en-gb/azure/app-service/web-sites-purchase-ssl-web-site or you can Bring Your Own Certificate. My personal preference is to leverage a free CA such as https://letsencrypt.org/, I’ll cover how I use Lets Encrypt in my next blog post.

